REGISTRATION BASICS – Part 2: Target Based Registration
Welcome to Part-2 of this Three-Part Series looking at the basic workflow registration in Leica Cyclone.
REGISTRATION
In this next part, we are going to look at basic registration in Cyclone. In the video description, you can find a link to download the sample project.
Locate the zip file to your local hard drive and then extract it.
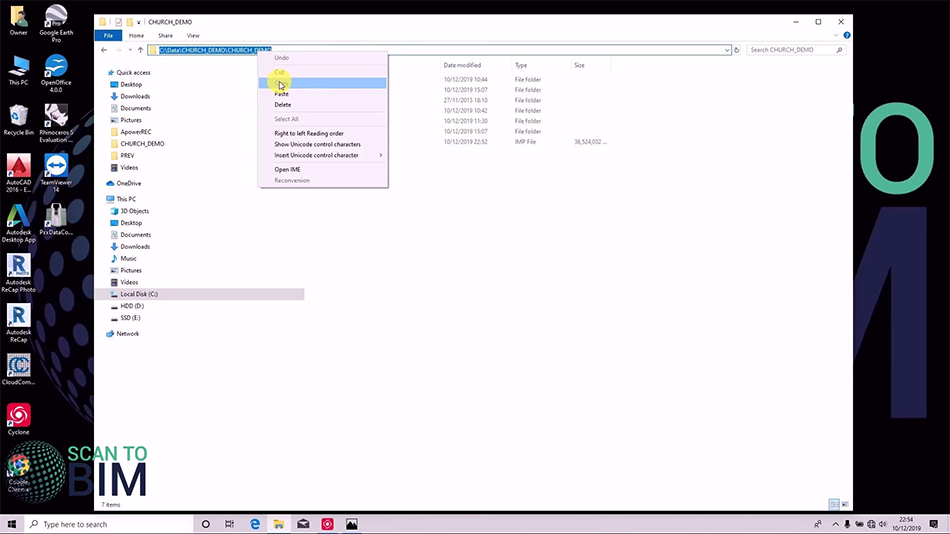
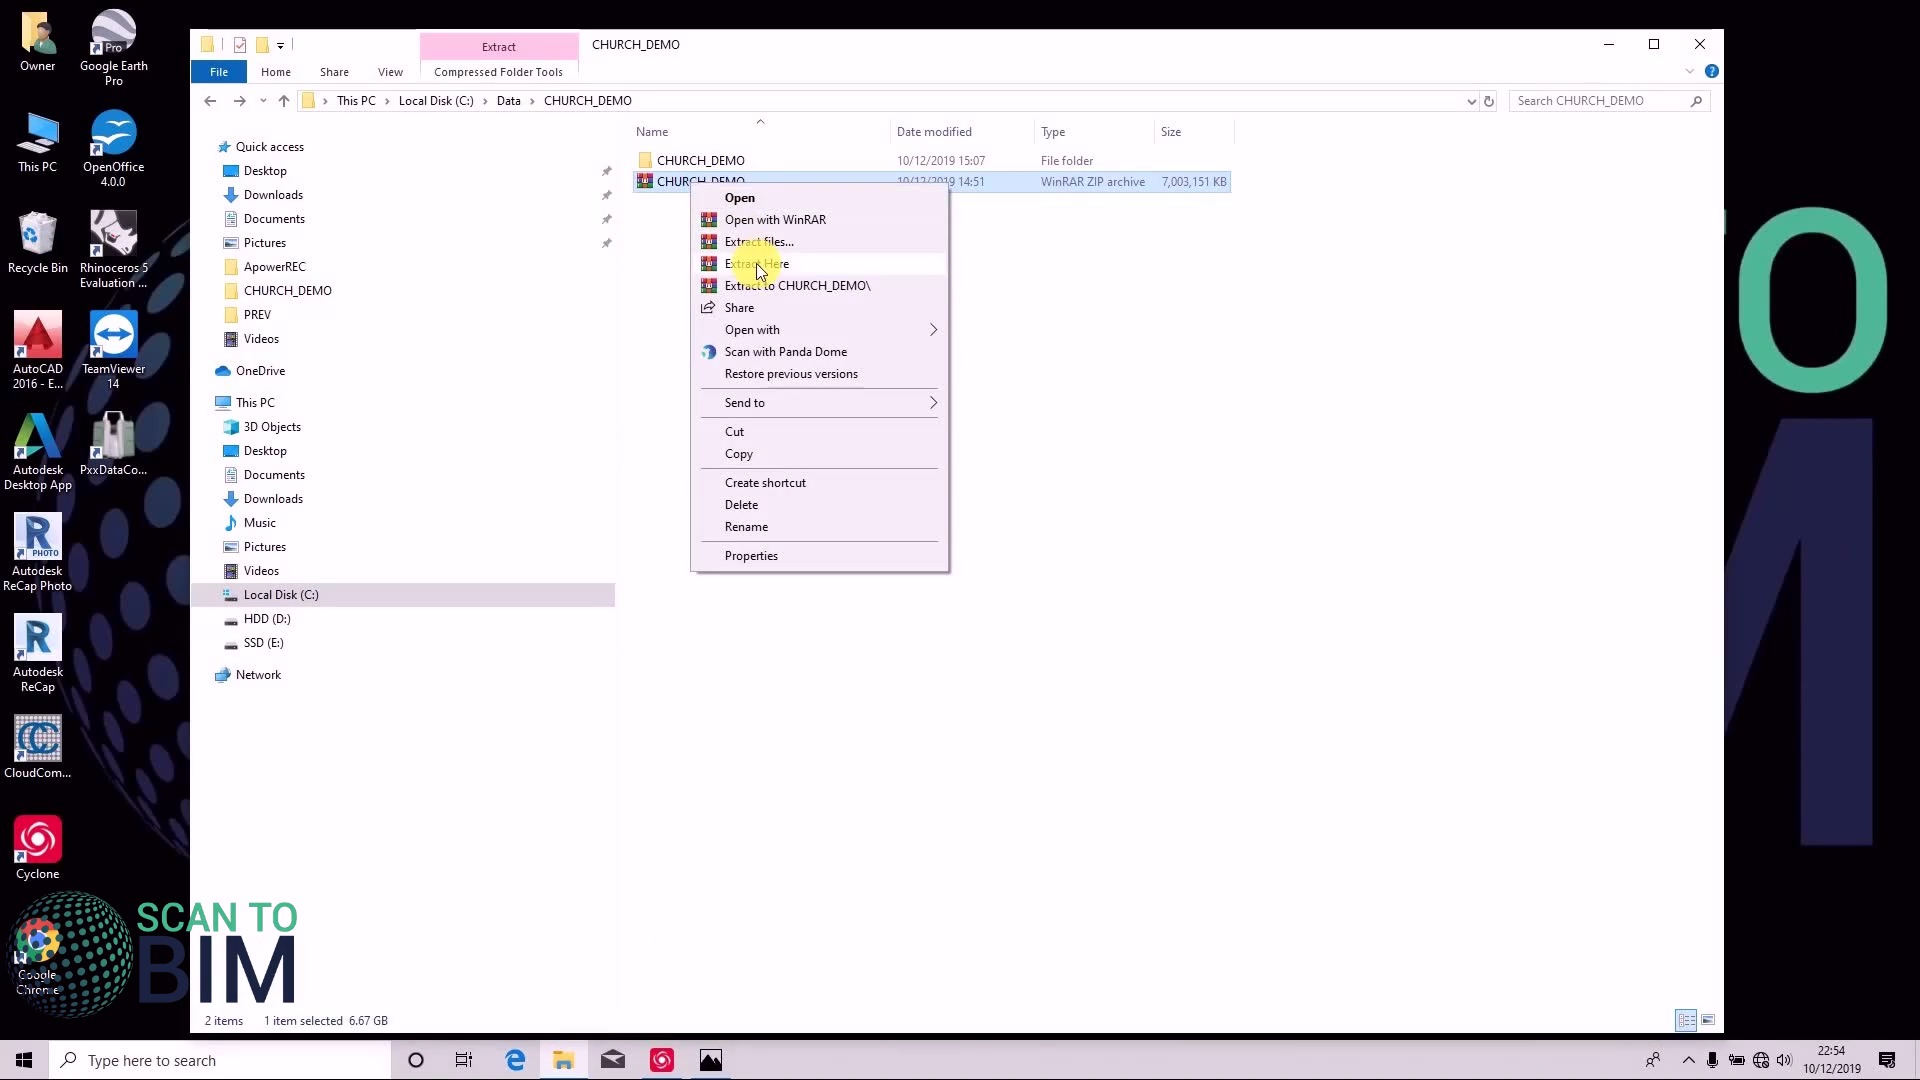 Once the folder is extracted copy the path on Cyclone.
Second, configure databases, add enter the path, select info file.
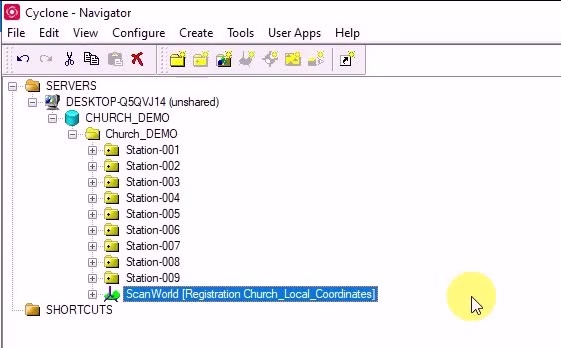
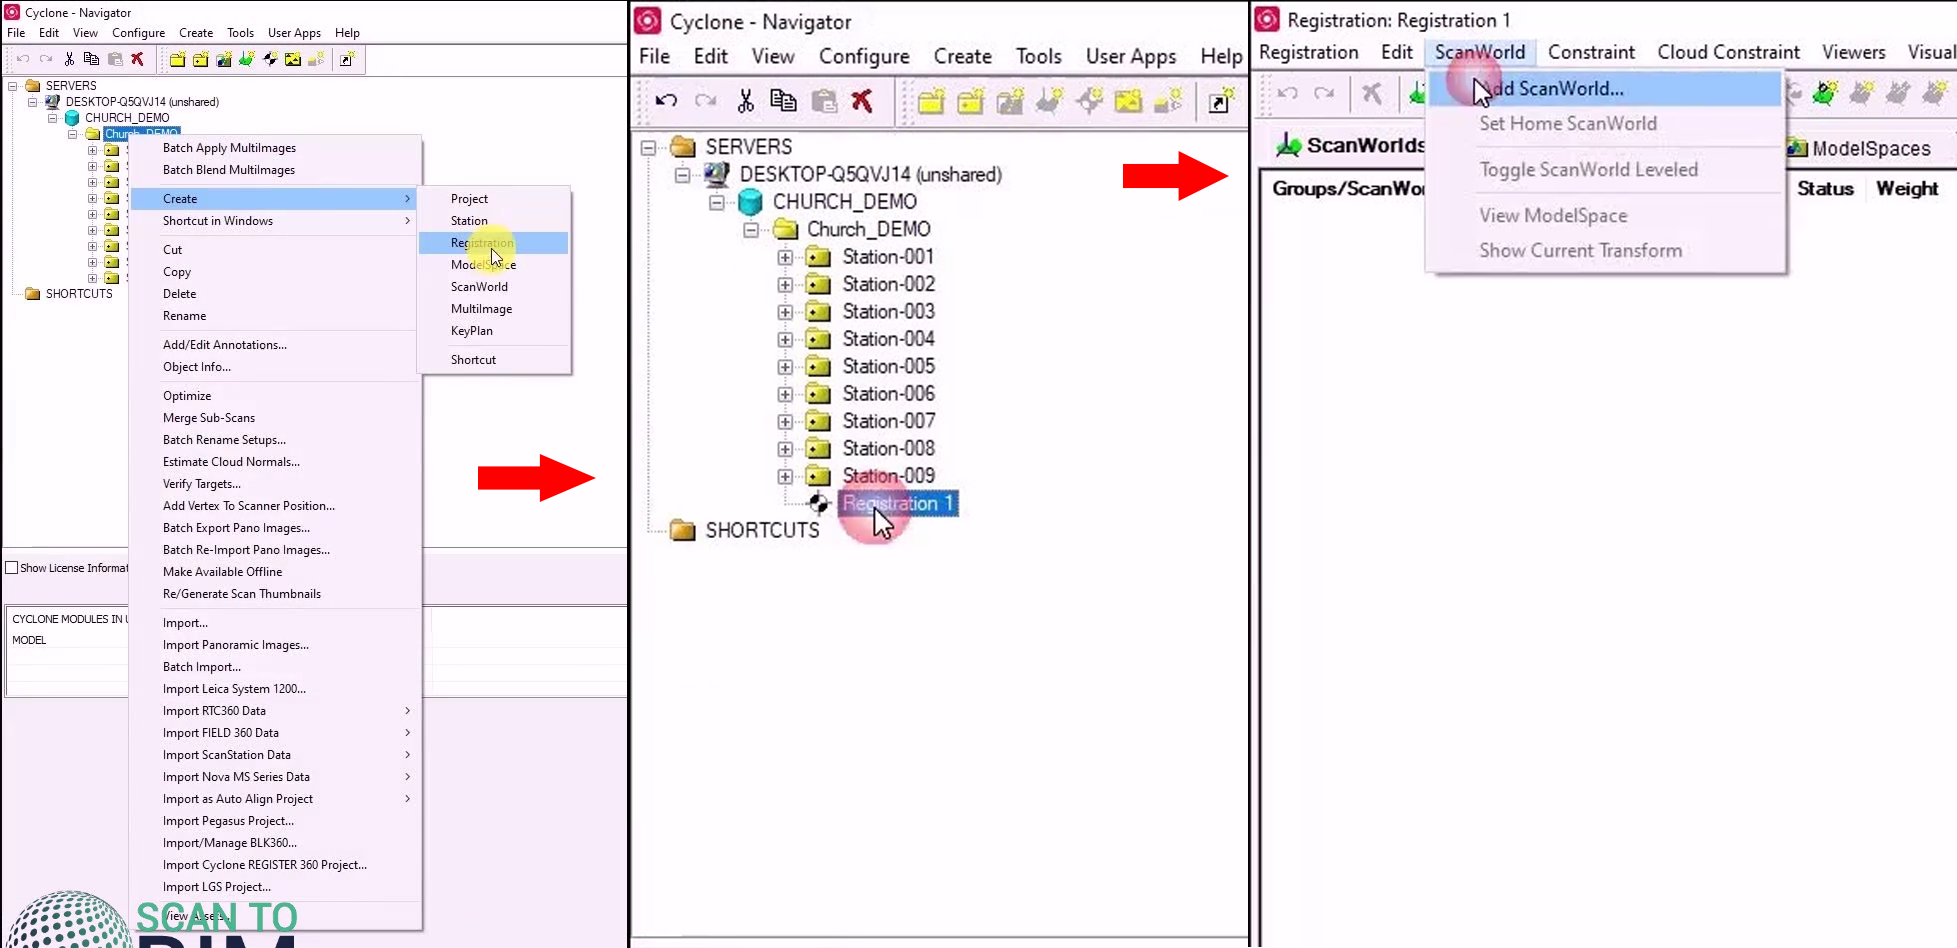
We have the database; you can now see that there are 9 scans to register.
Registration is the process by which the projects scanned worlds are combined into a single coordinate system as a registered scan world. You can achieve this by using system constraints such as targets or cloud links that exist in two or scan worlds. Targets found in the control space where they can be reviewed, organized, or removed.
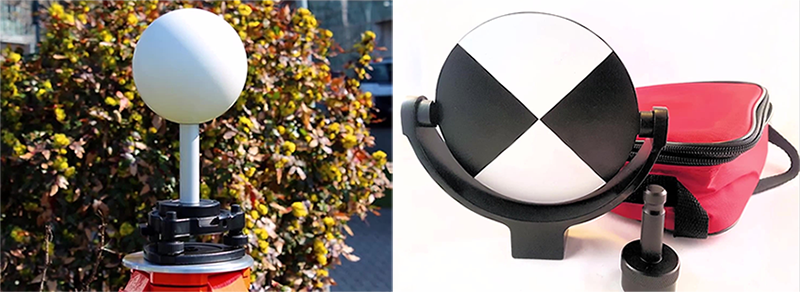
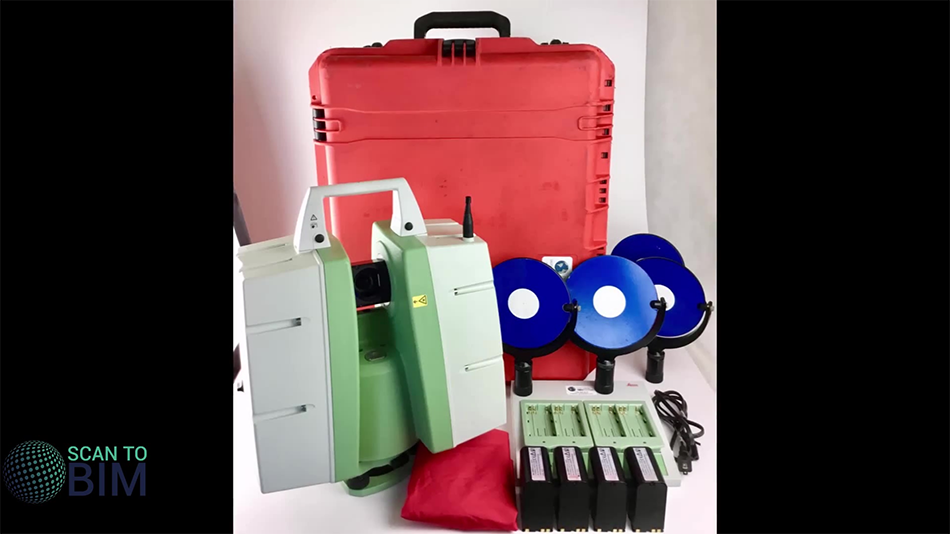 This image shows I can see ten laser scanners with distinctive blue and white targets other common target types include, black and white targets, sphere targets. Targets are used in the field to join one scanworld to an adjacent scanworld.
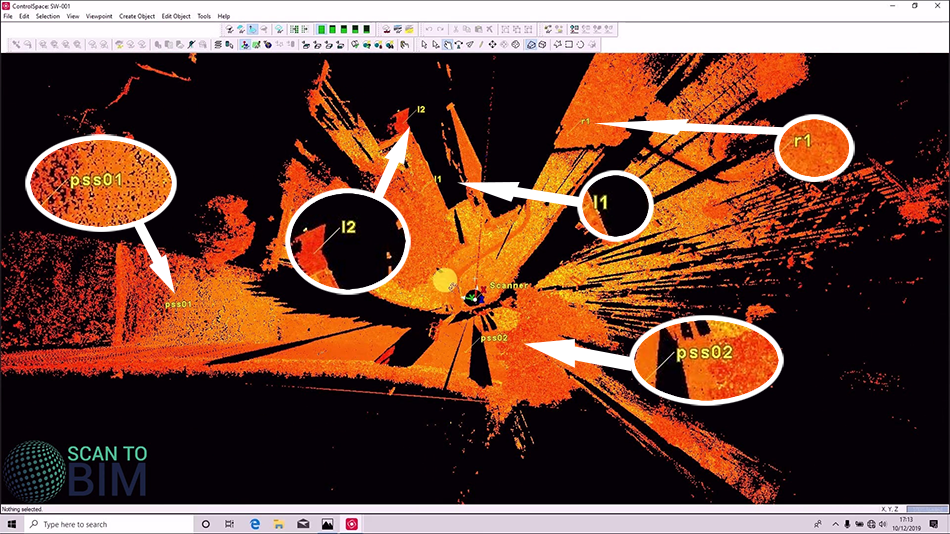
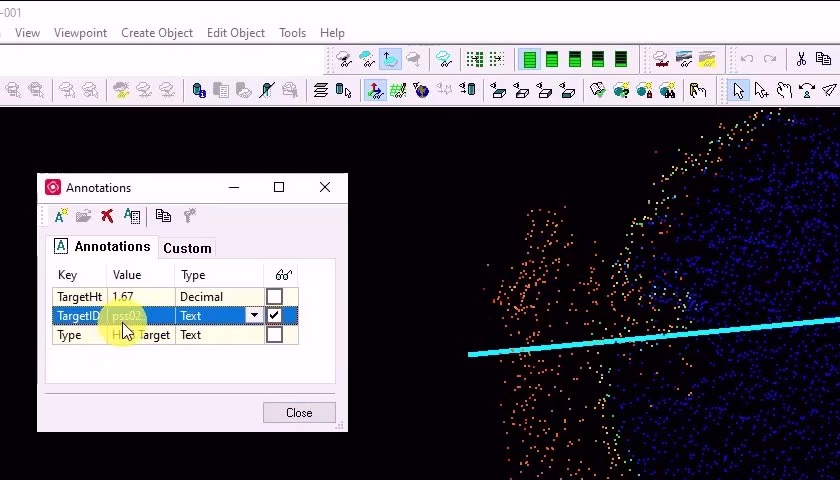
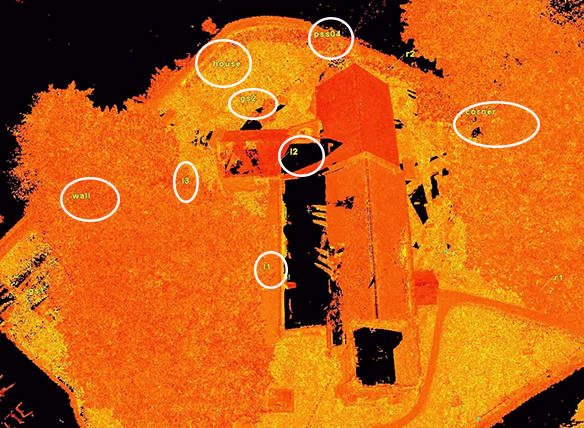
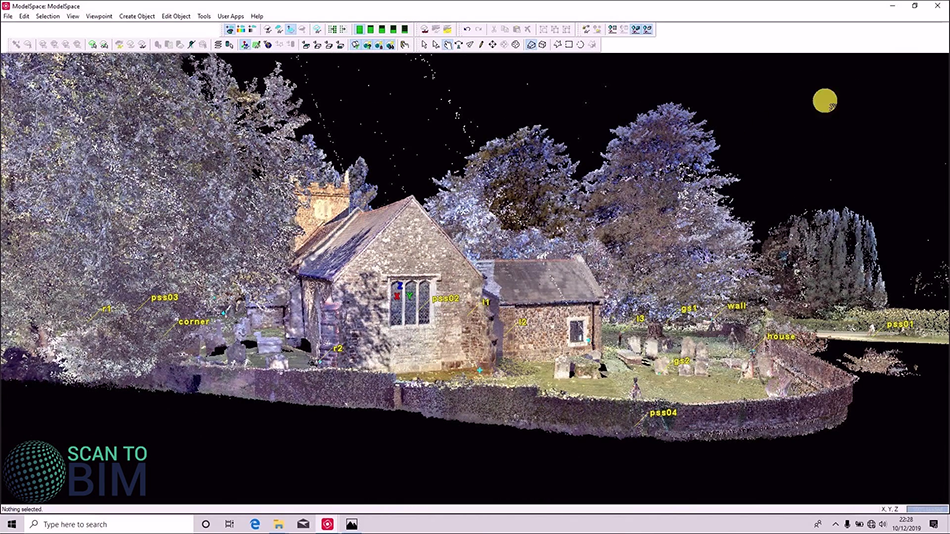
 If we go into the control space in one of the scanned worlds, we can see that there are five targets: pss1, pss2, L1, L2, and R1.
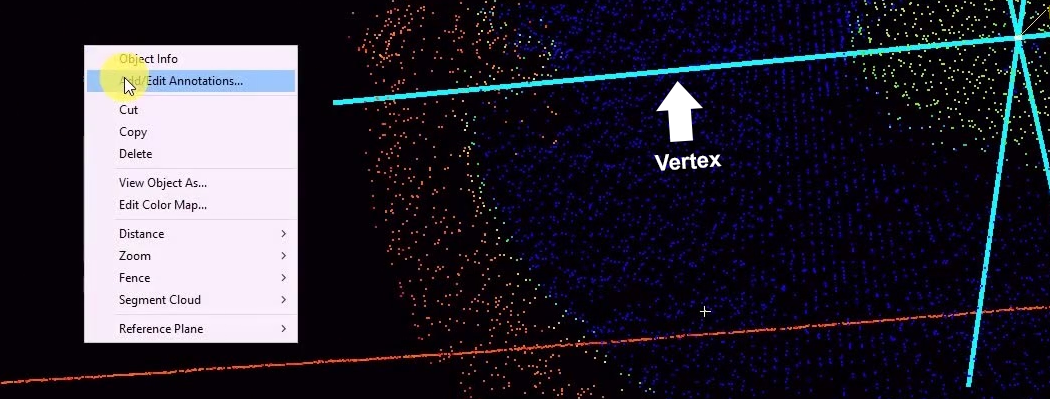
If we select the target vertex we can right-click and add an edit annotation. Here we can alter the targets ID and target height
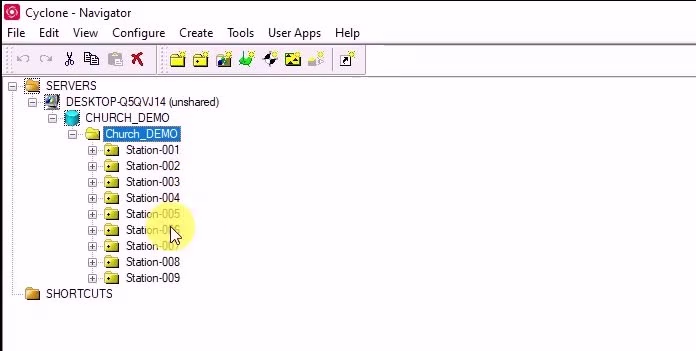
 We right-click on the CHURCH_DEMO folder and create a registration.
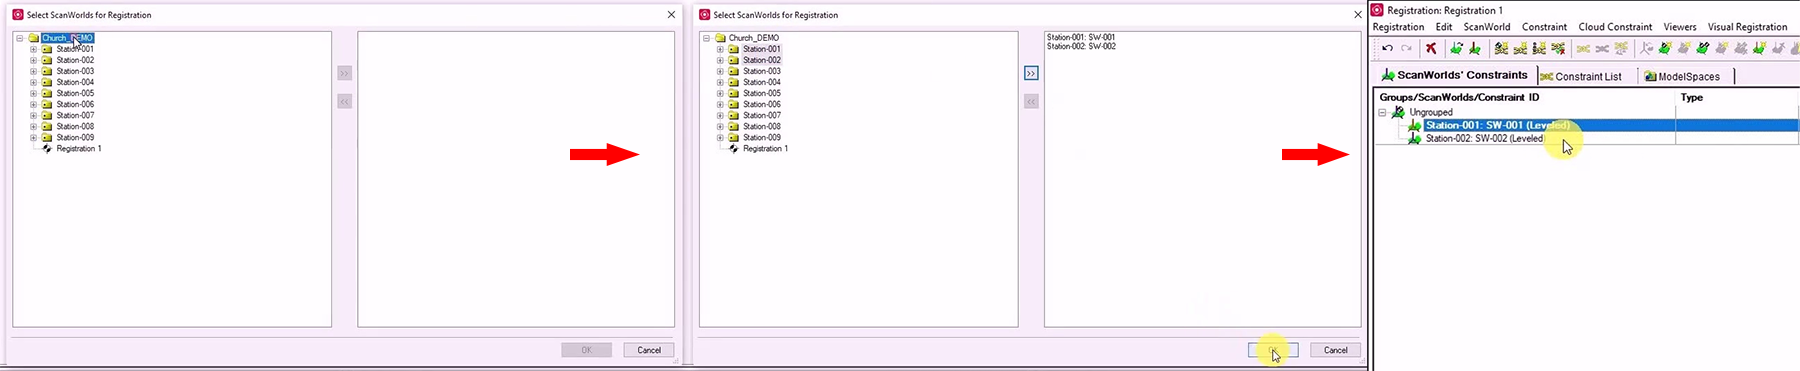
For now, we’re just going to add to scan nodes, Let’s go node 1, scan node. You will notice the base scan mops are leveled; this indicates that the scans were acquired by a scanned equipped with a dual-axis compensator. The scan world known to be leveled is registered to say that the up vector remains the same.
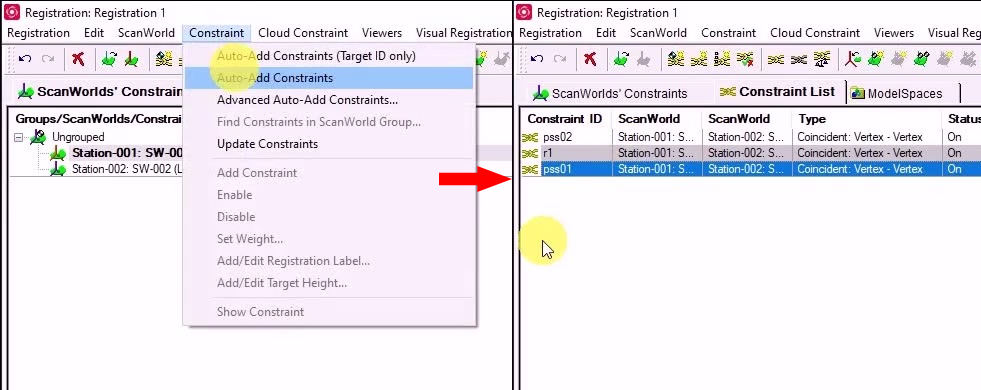
The technique we are using here is target based registration this method assumes that during the scanning operations at least three common targets are present in adjacent scans. If we go to constraints, go to add constraints, you can see that there are indeed three common targets.
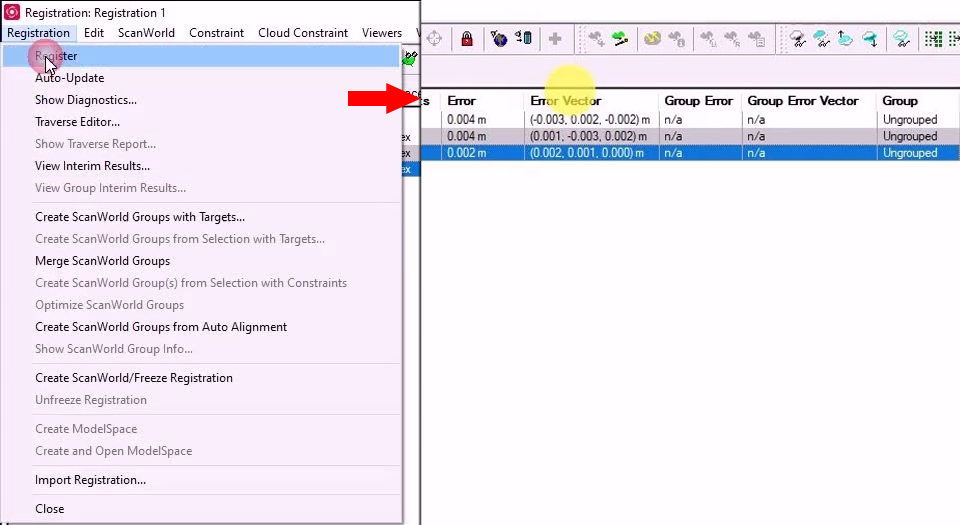
 Click registration, register, you can see the error between the targets, we can see the error vector.
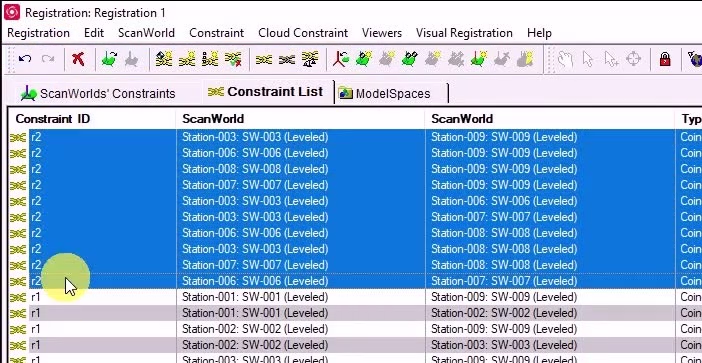
 If we now add the remaining scan worlds, select the scan worlds 3 through 9, and then alter out the constraints, register the data, first column us the constraint ID, we can see here targets called R2 and sort by constraint, by left-clicking on the constraint ID. Here we can see constraint ID R2 between scan worlds 3 and 9.
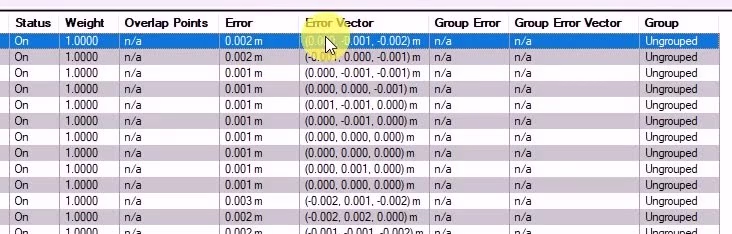
You can see we have the status on, we haven’t disabled any targets, weight is one, it’s unusual but there are instances where you would want to weight of a target. Here we can see the error it’s two millimeters and the error vector. Sort by error and see that our worst are constraints pss03 scan worlds 2 and 9. Interesting these are all errors in height and it’s possible that the pss03 tripod was set up over a nail. At the beginning of the day and then again at the end of the day, there may be a typing error but we all come into such matters, in the future video.
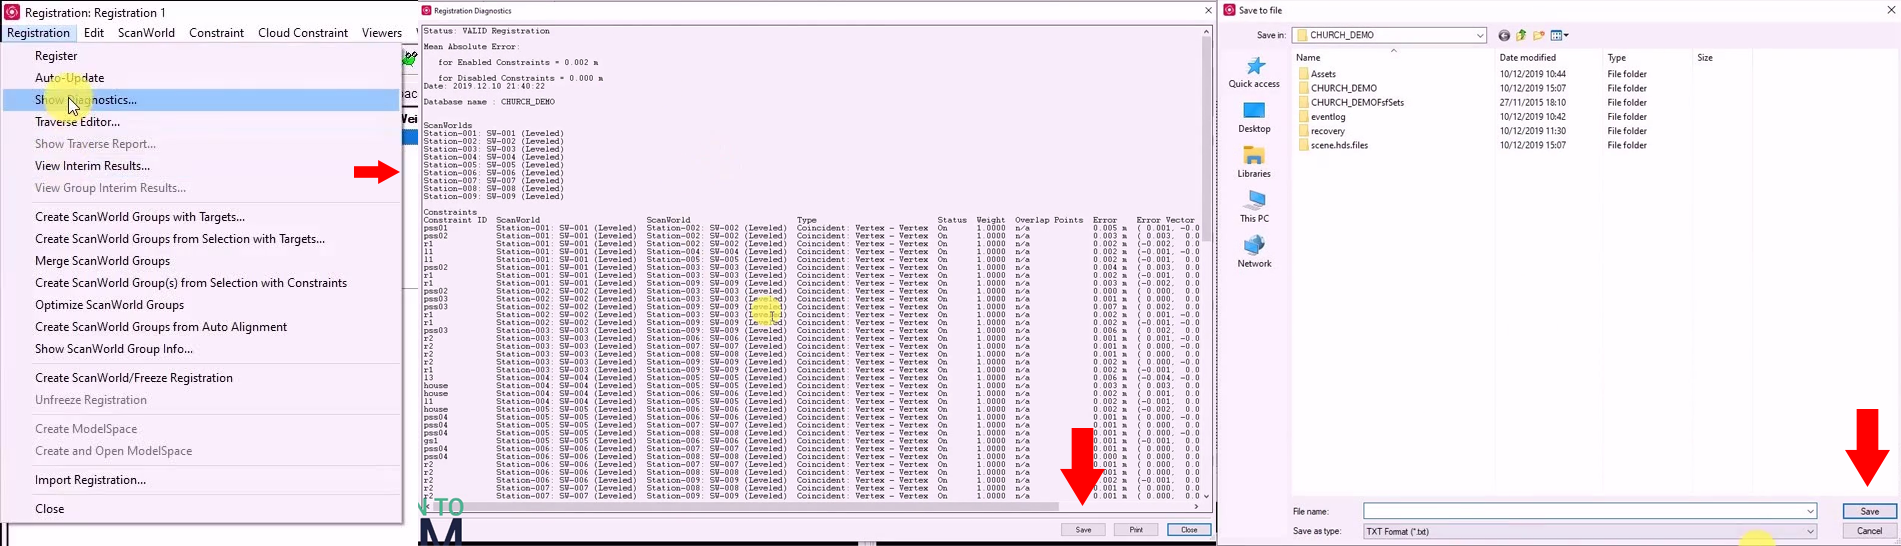
Go to registration show diagnostics get a nice summary of our registration and be saved to a text file for reports or indeed if you select all copy and paste the data into a report.
If you right-click here and view interim results, you can see our registered point clouds. And to do some checking now we use the data in orthographic mode.
Get a nice alignment for that building face there then go to tools scanner, scan mode explorer you can assign a unique color to each scan. Cyclone is asking about saving of viewing a model space view, we are not interested in saving it just checking the data. Save view set the rip box by cursor, and if we swap to the side view there and just make a thin slice and we do want it quite a thin slice.
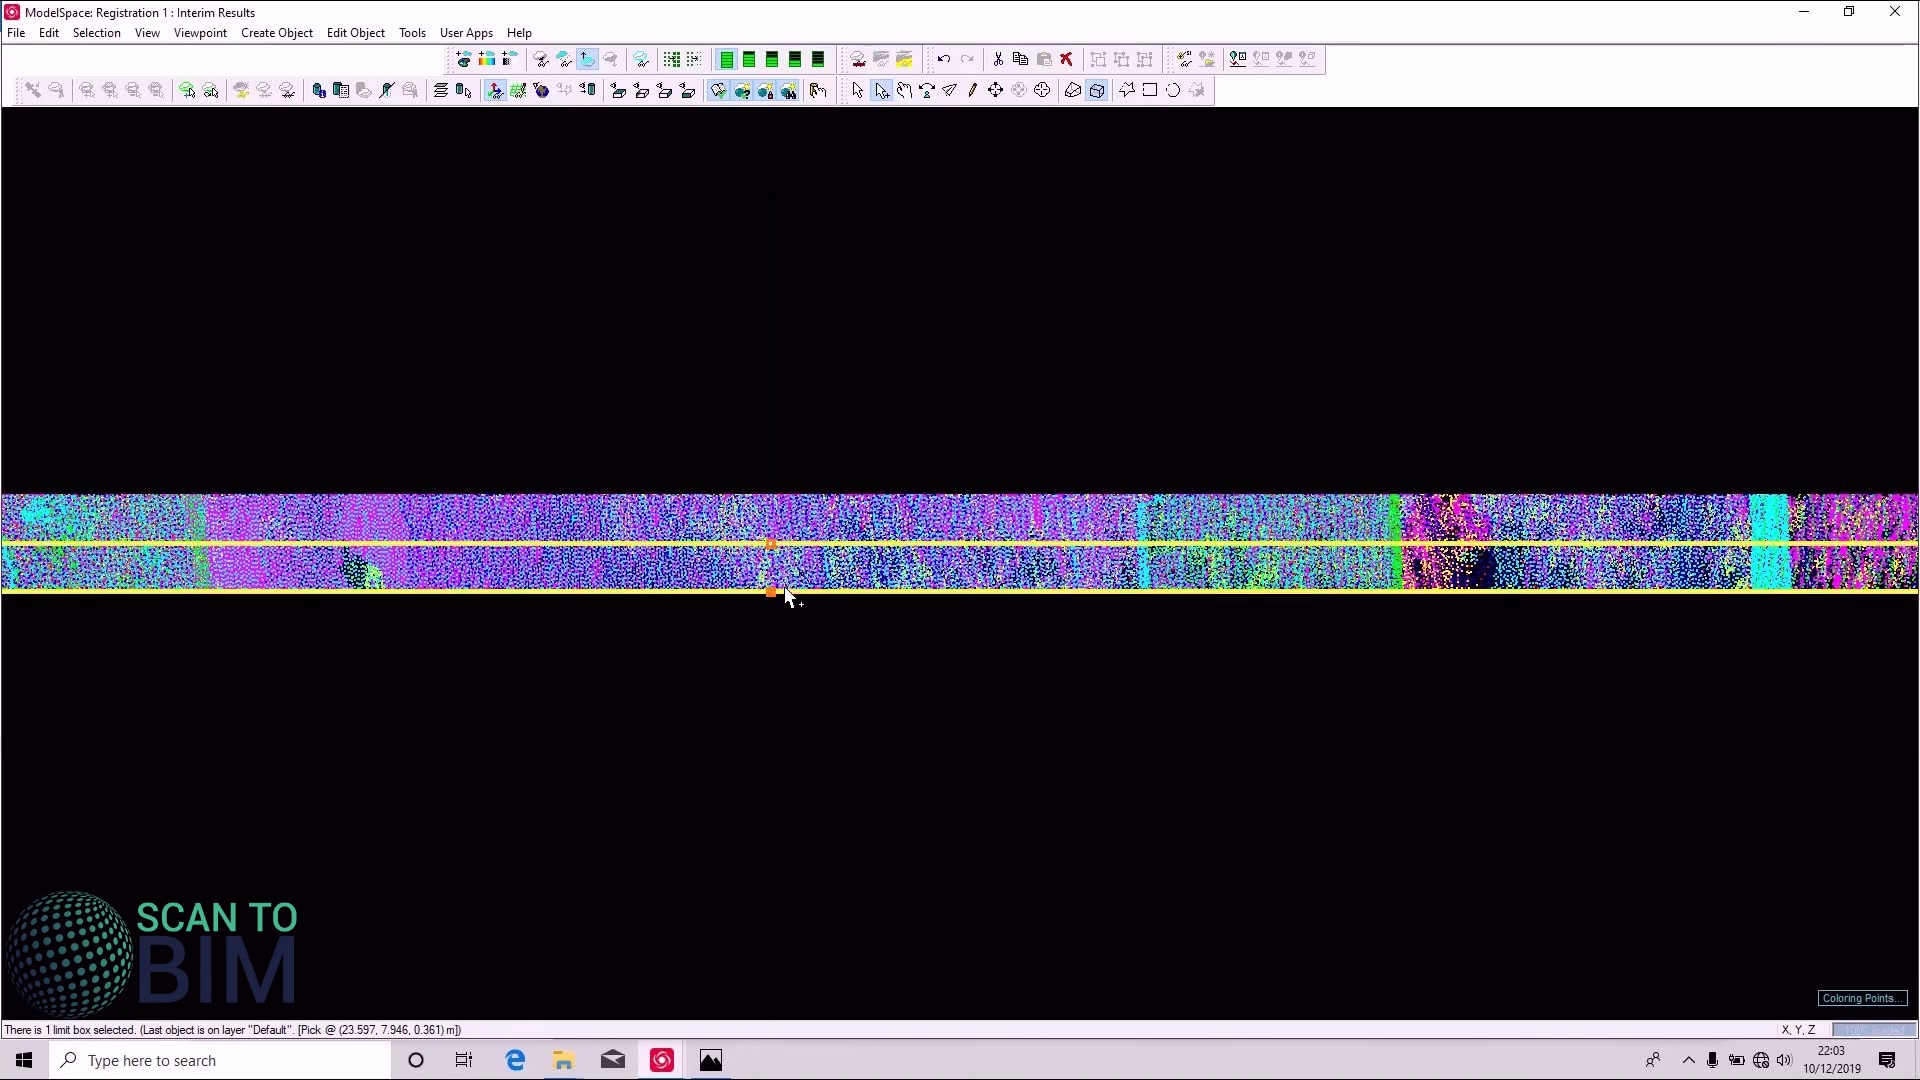
We can use that to confirm that our scan aligns correctly and plan position and see that it looks very good. As well as checking the plan. Move the limit box to do vertical slices as well just check the roof back here.
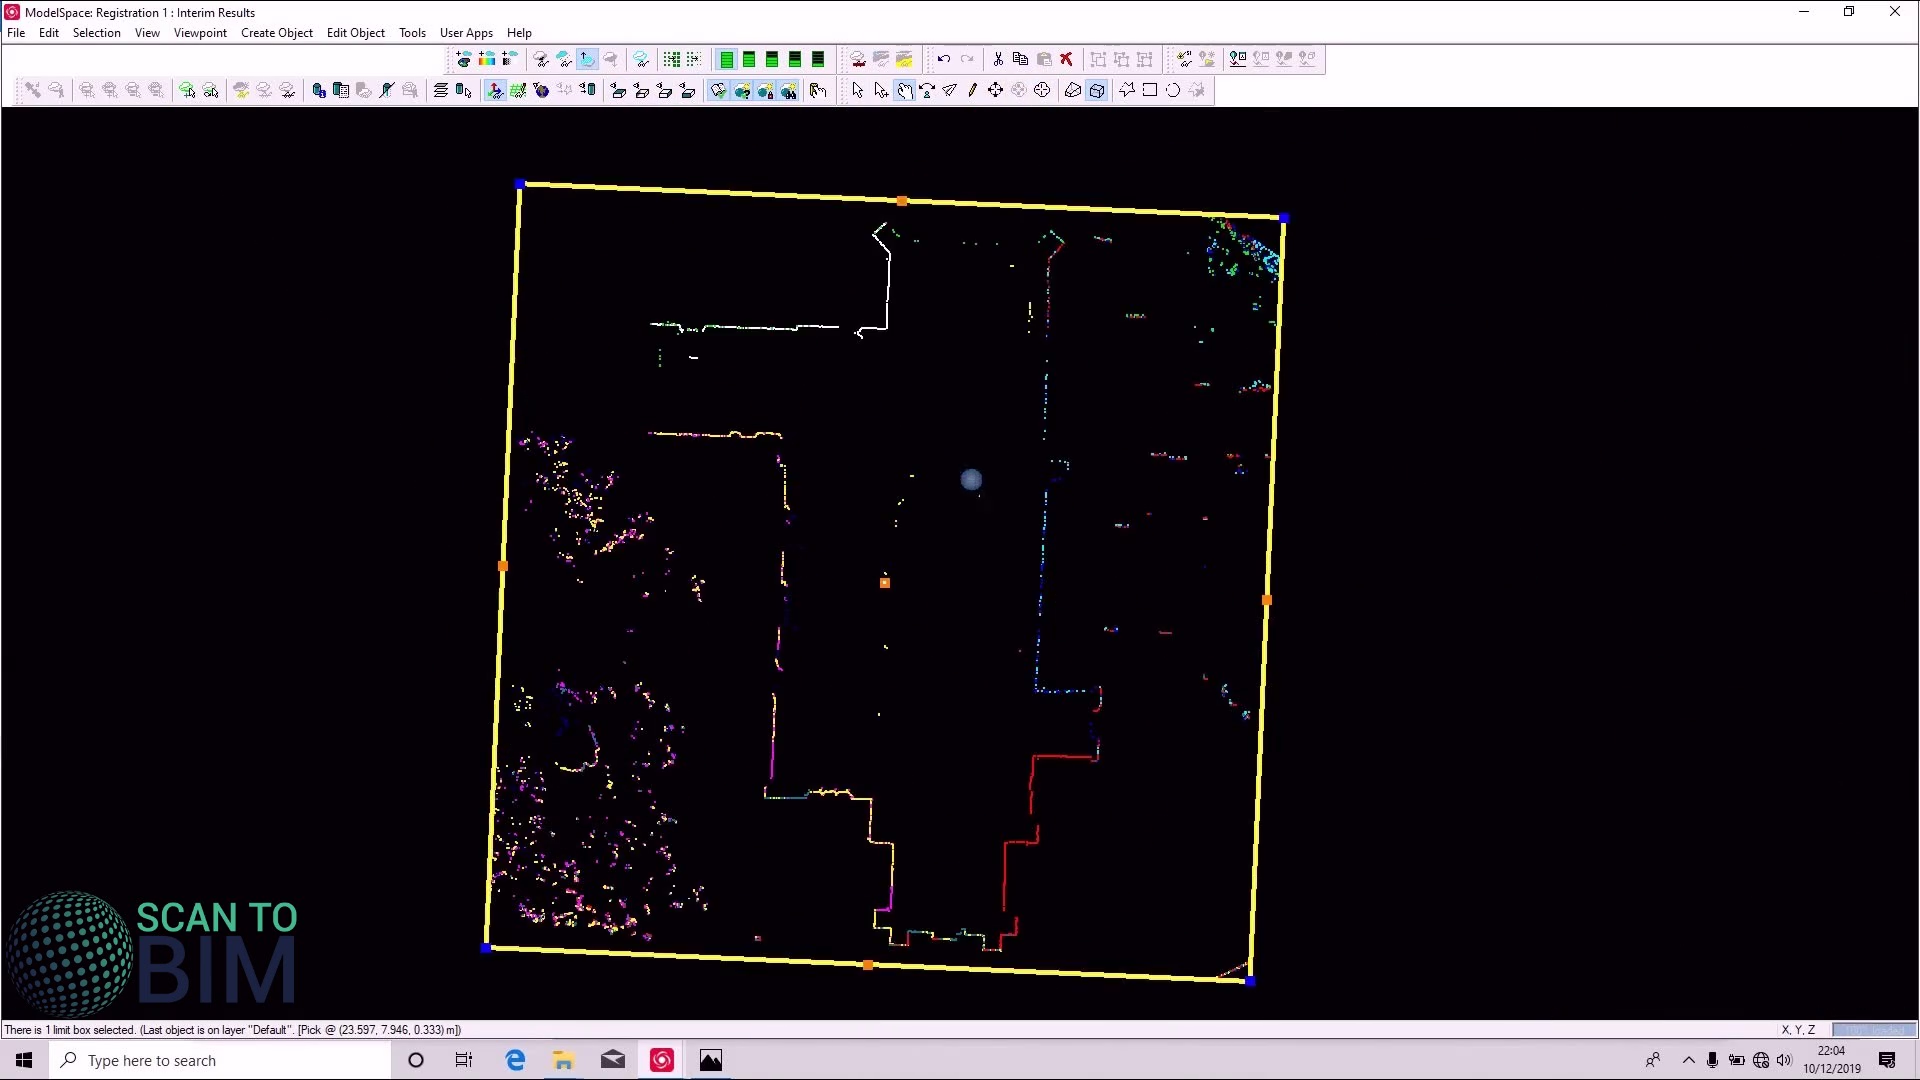
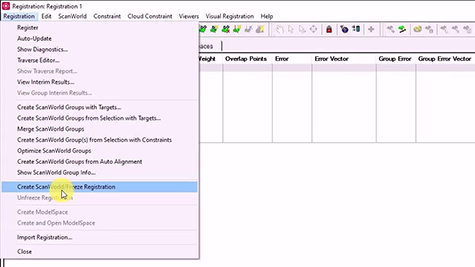
We can see that the scan aligns very closely, we will close that but obviously do as many checks as you wanted to do. To finish the registration we will go to registration, register, register great scan world / freeze registration and create an open model space view.
 You can our registered scanned data, if we swapped back to the navigator briefly you can now see that we have a new mode called scan world registration 1, we could choose to rename that into something a bit more descriptive for example CHURCH_LOCAL.
Joins us in part three where we look at cloud registration in cloud inside Leica Cyclone.