REGISTRATION BASICS – Part 1: Introduction to Leica Cyclone
Welcome to this three-part series looking at the basic registration workflow within cyclone. In this part we are going to learn how to set-up a job, import data, and look at the data structure created.
You can download the cyclone database used in this series in the by clicking on the link in the video description.
SETTING UP A JOB
First double-click the cyclone shortcut located on your desktop.

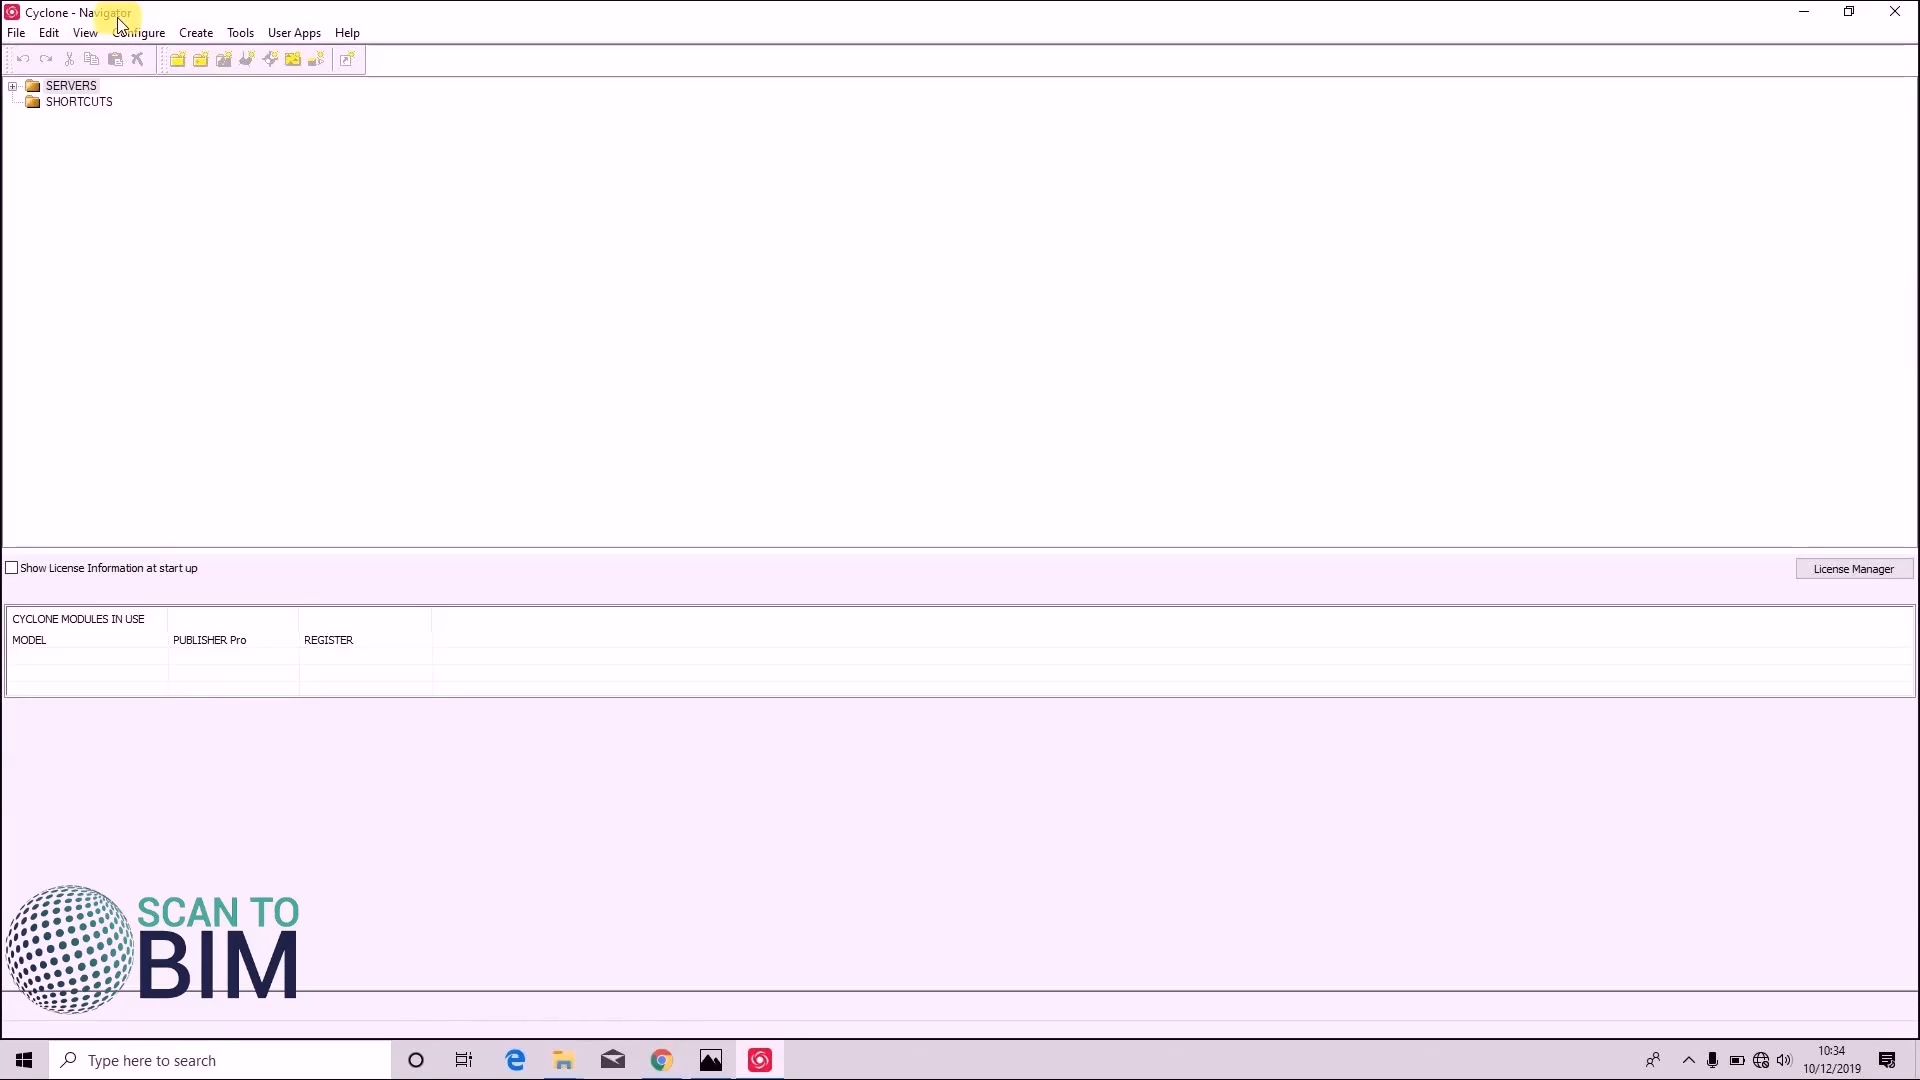
You should see the Cyclone navigation window. This is the main window for the application.
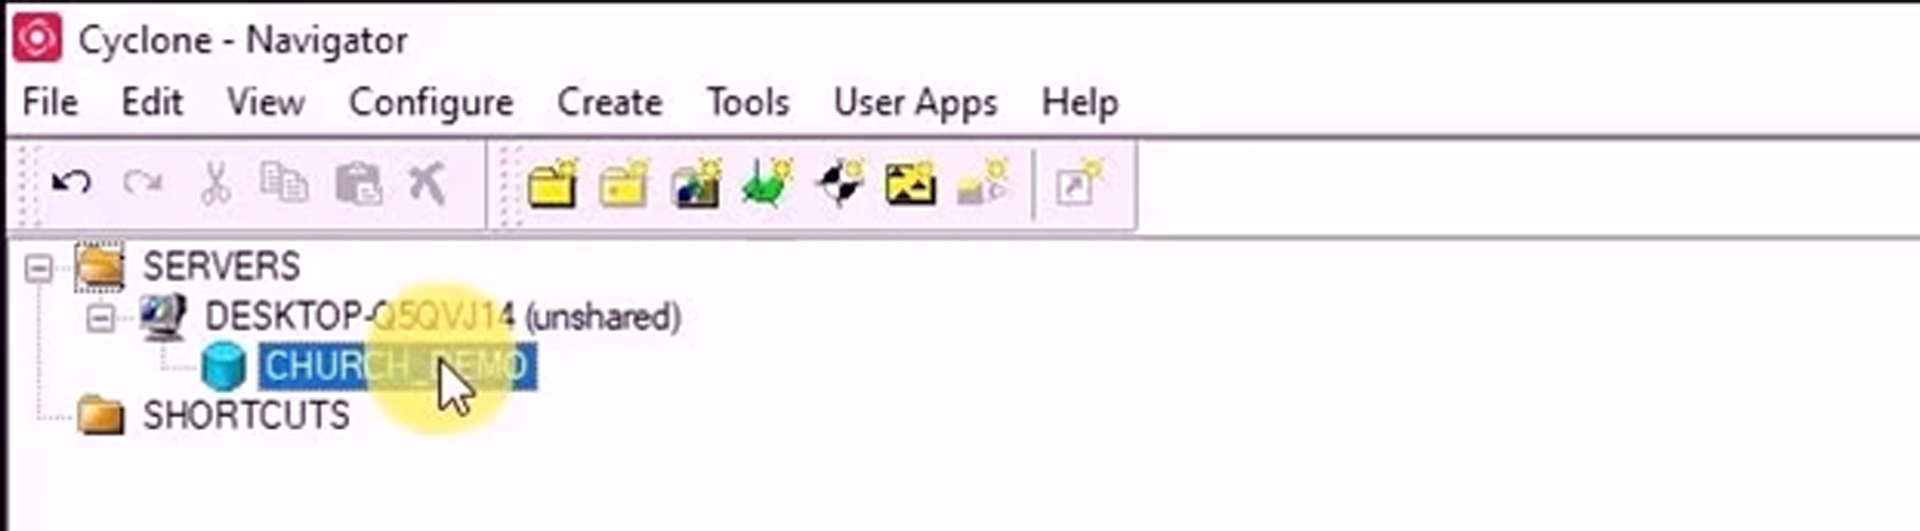
Let’s get started by creating a new project. Double click the services folder, go to configure, databases, add.
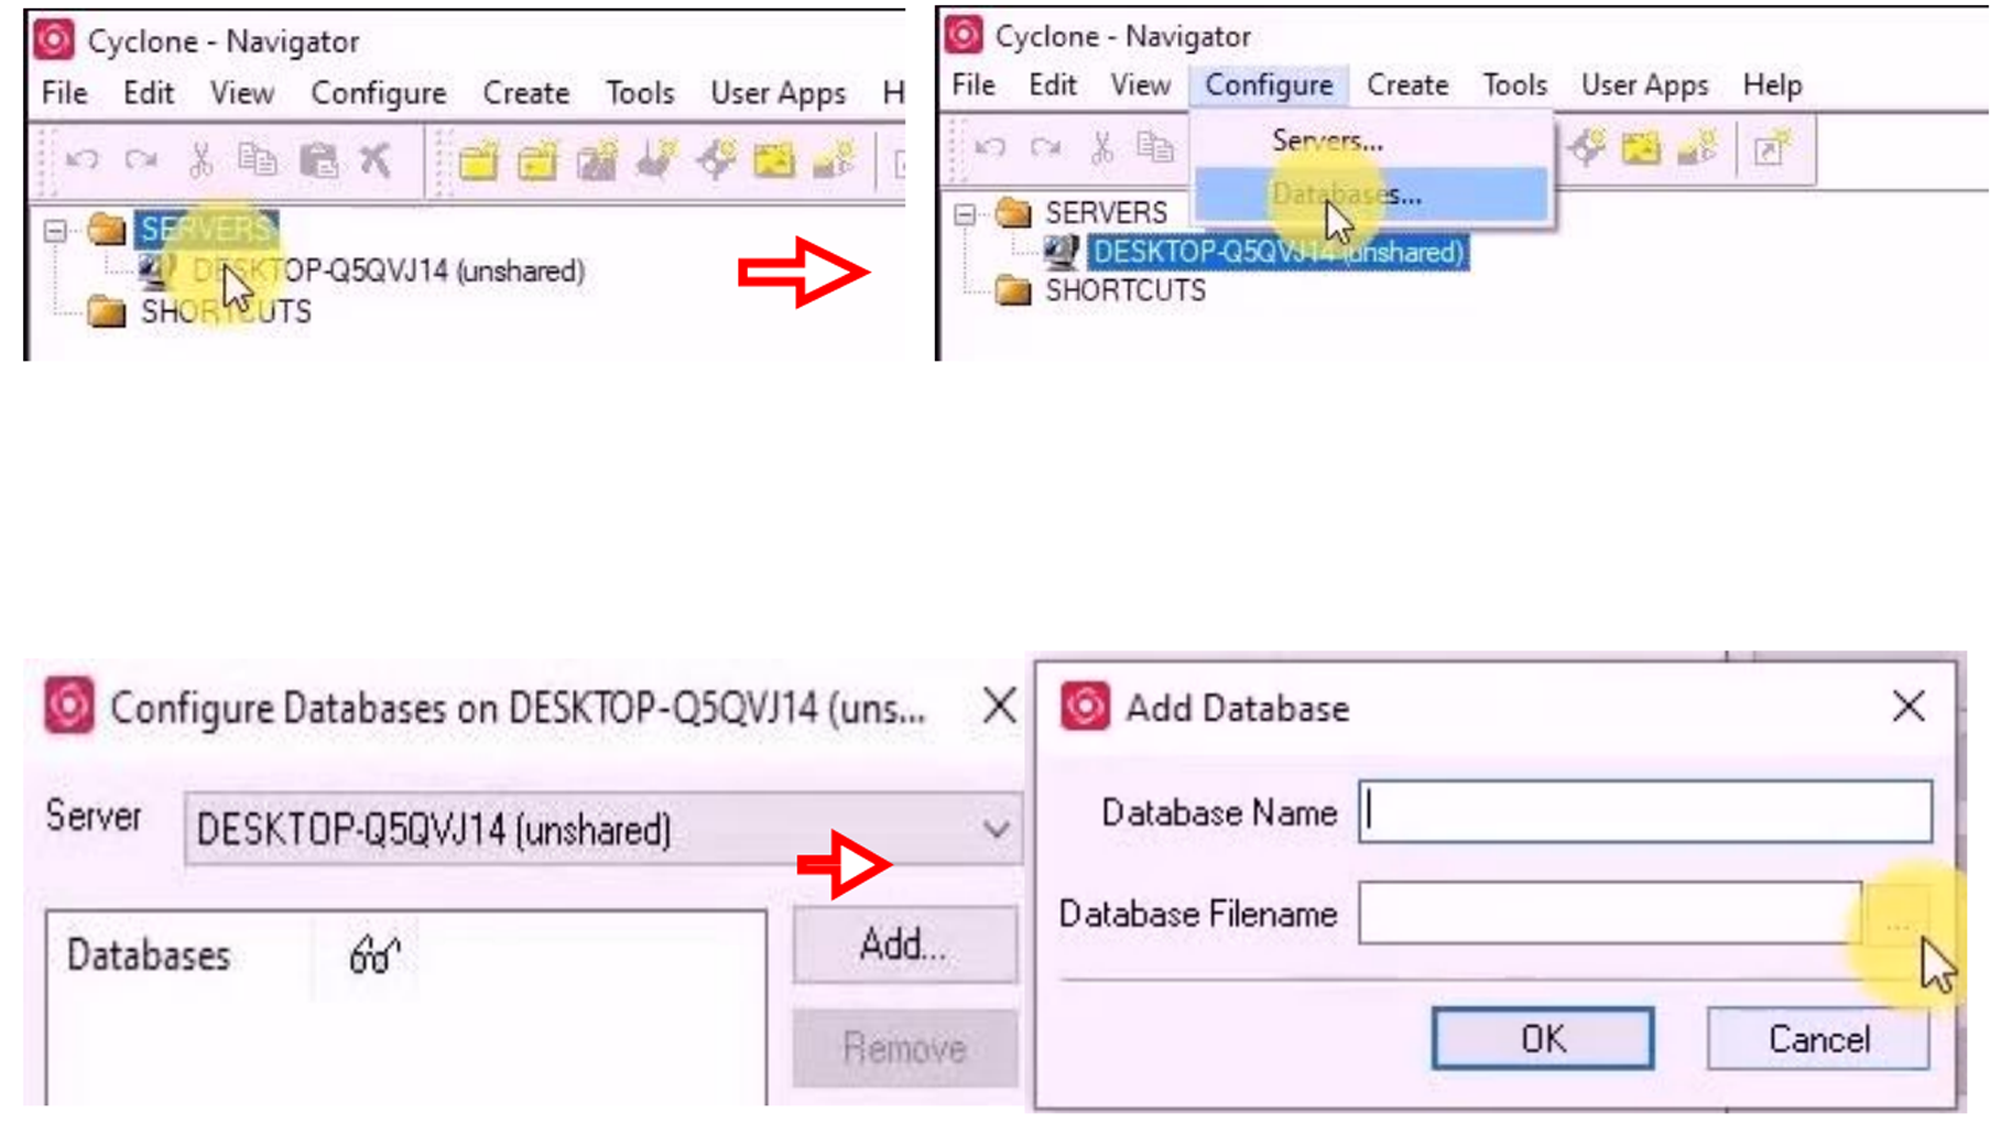
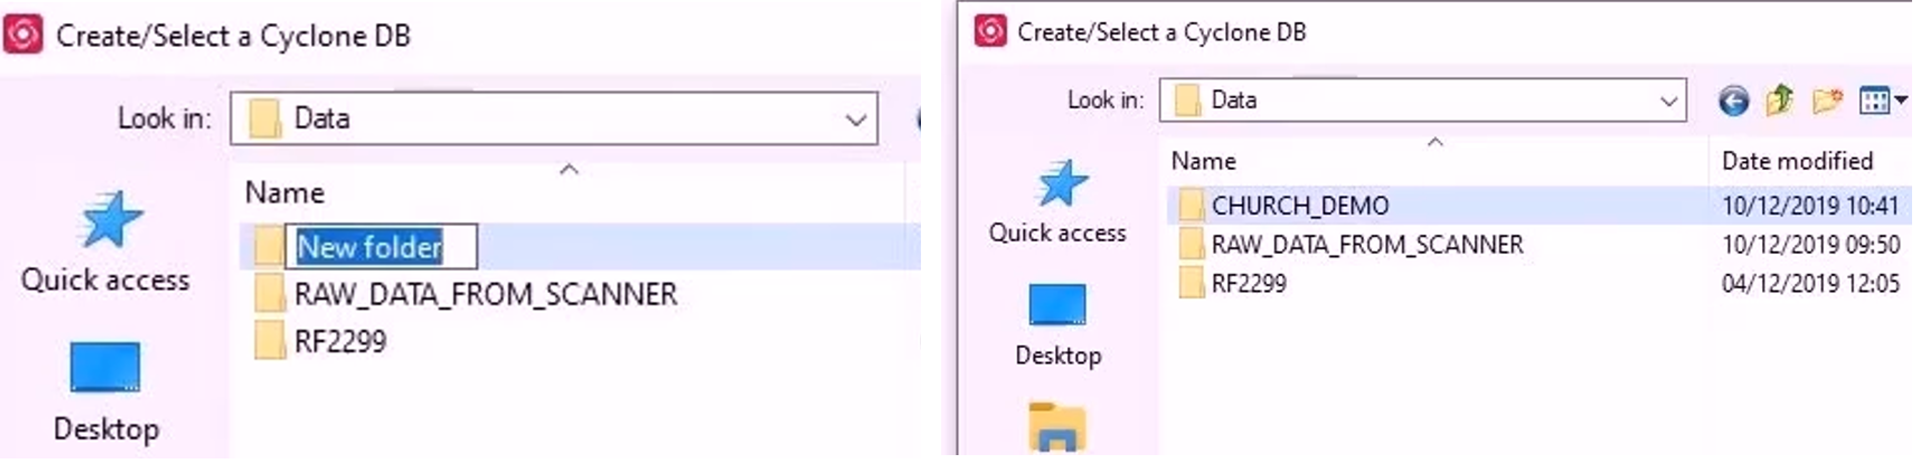
I’m going to navigate to where I would like to store my project. In my case I would like to start in C: \DATA and make a new folder CHURCH_DEMO. Here I can name my Cyclone database and also going to call it CHURCH_DEMO, then click ok.
You can now see that we have an empty database added to the navigator.
We would like to import some data into this project we right-click it brings up the context menu, we can choose to import data from a variety of sources, such as CRTC 360 scanner BLK 360, Pegasus, in our case very important like a c10, this is also where you would import data from a P40 or similar. If we click imports go-to station project drive to where or more data is, just click OK. Brings up this important menu, subsample allows you to reduce the amount that is imported, I’m leaving mine at 100%.
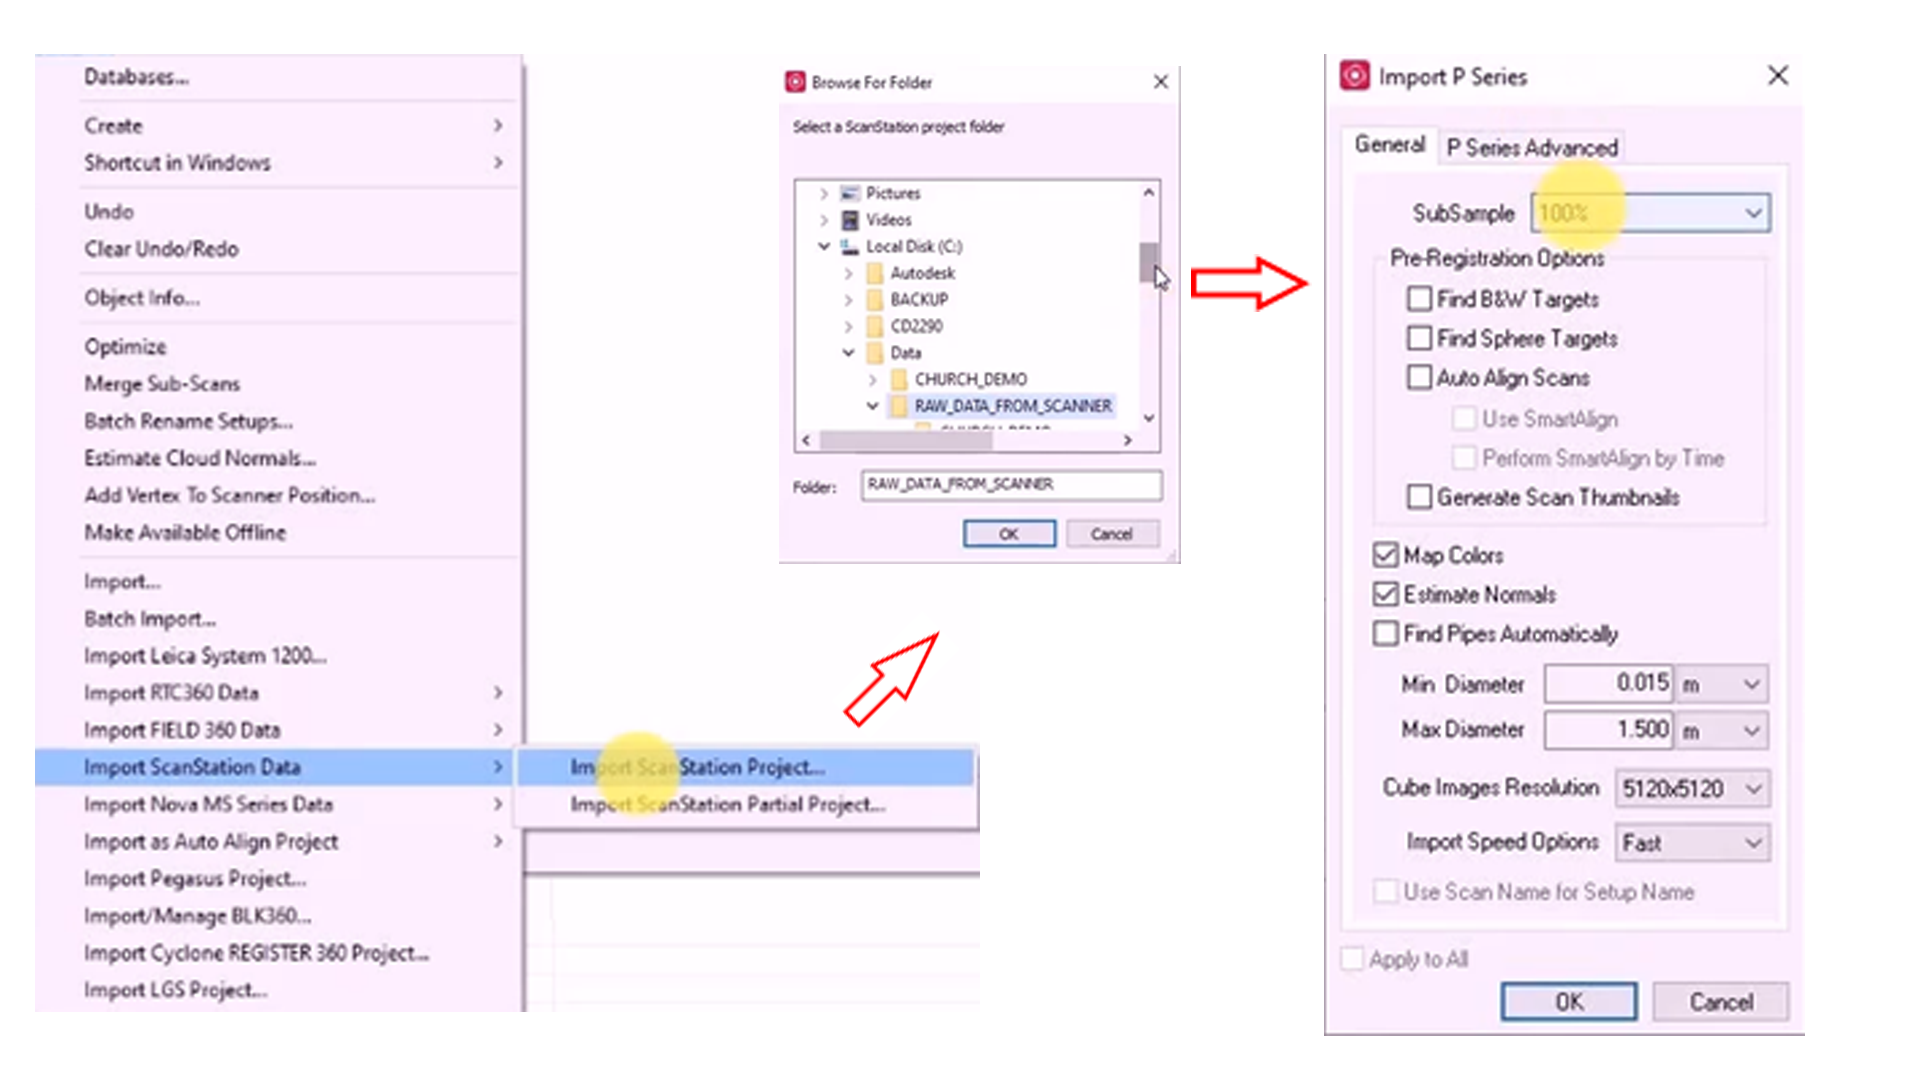
The pre-registration options you can choose to auto-extract black and white targets and sphere targets. We can also choose to auto-align scans, we will cover this in a separate video.
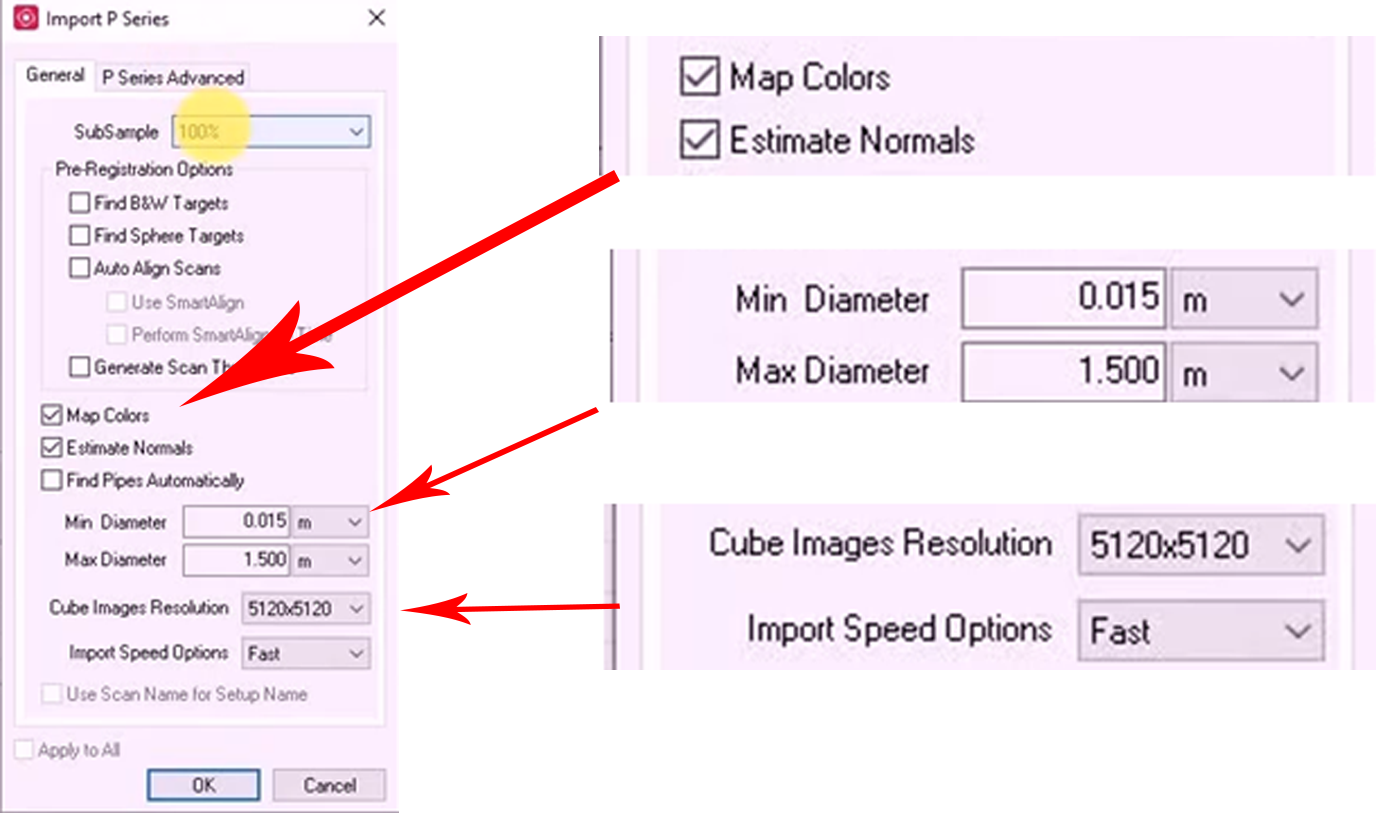
If imagery has been taken on-site using the scanner you can use it to map colors and point to the point cloud. I would leave estimate normal ticked by default, this allows you to do cloud registration. Cube map image resolution, I would leave on maximum although if you need to save space you can select lower resolution imagery to import. Import speed options, I have mine set to fast. If you are importing hundreds of scans you could choose safe mode balanced.
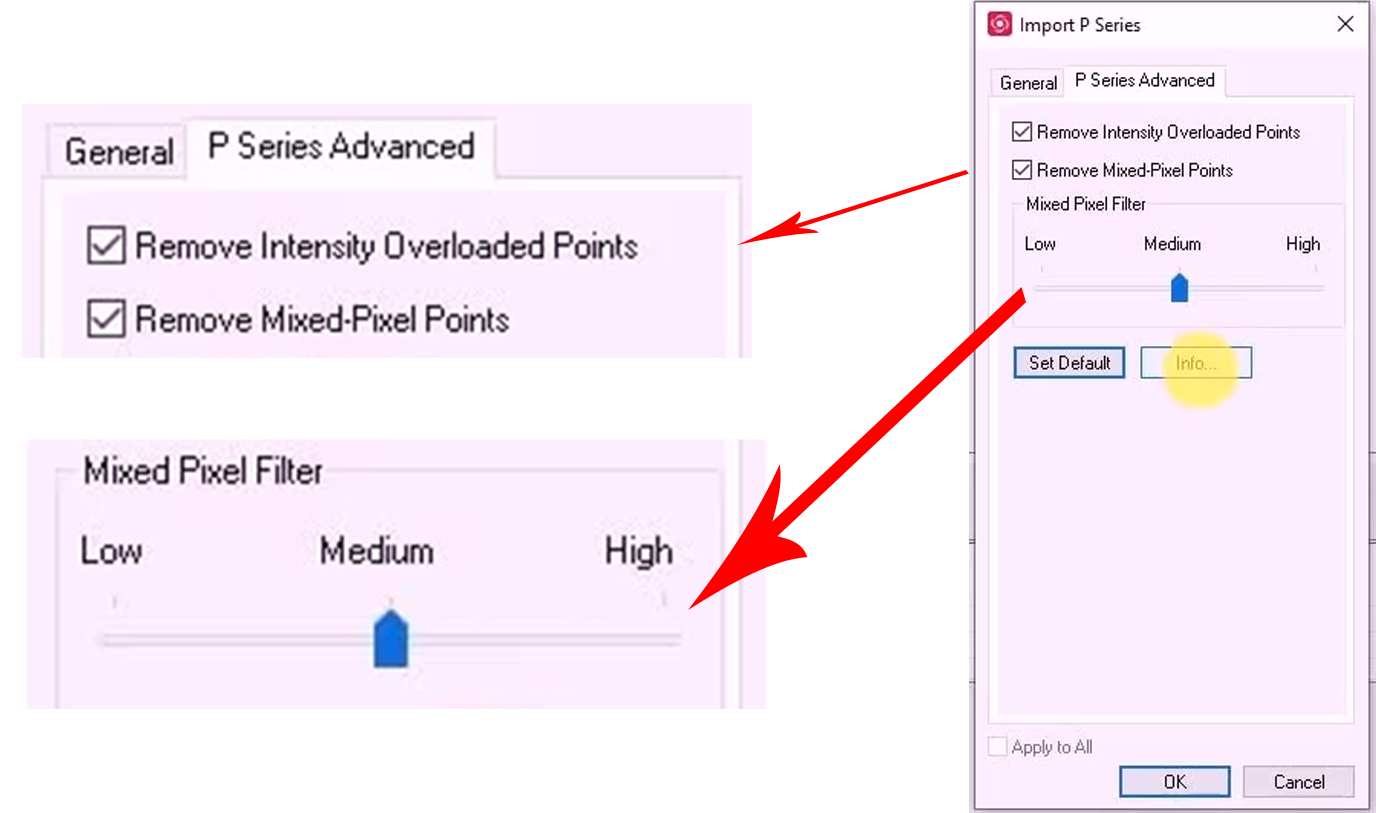
The P-series advanced removed intensity overloaded pixels, I would like this checked by default. The Mixed pixel filter relates to the noise between the P-40 data and there is a slider setting for the intensity of that filter you can find out more about how that filter works by clicking the information dialog so we are going to click OK. The data starts to import.
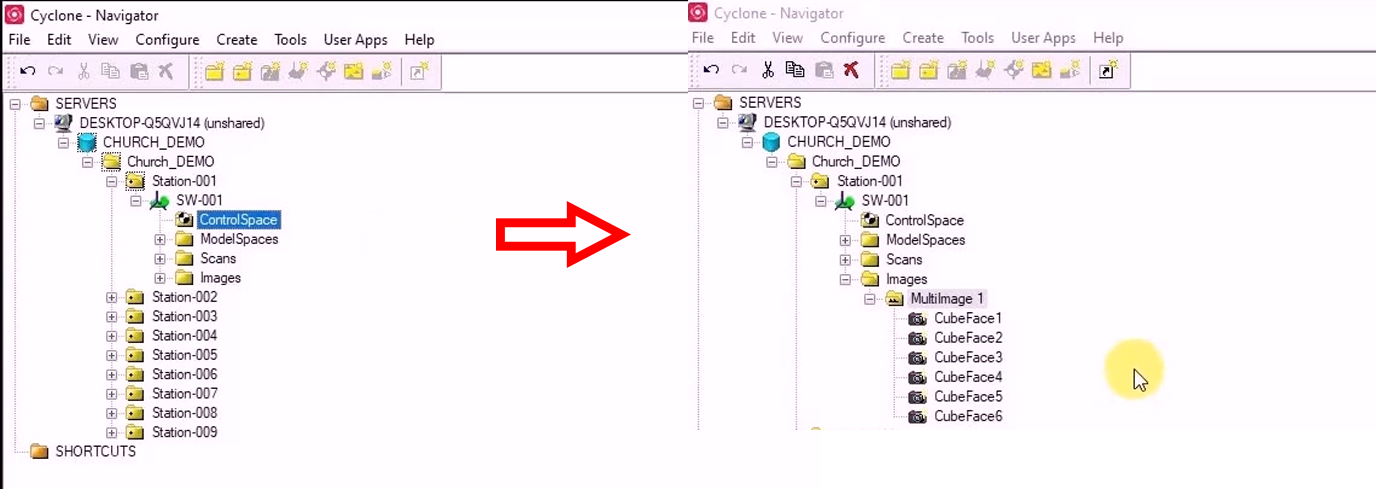
Once the data is finished importing you can go ahead and open the database. You can see that we have 9 scanned positions, to each scan you can see that we have well a controlled space this contains the control objects used in the registration so the targets can be reviewed and organized. You can see we have a model space; this is where you can view, edit, and work with the point cloud data. We have a scans folder; you can see here the 360 degrees scan Inside here we have our find scans of target and lastly, we have our images folder. This contains the multi-image take a look at the scanned position and be used to the point cloud with.
In the final part of this video, we are going to cover basic navigation within cyclone. If we open a
little space view.
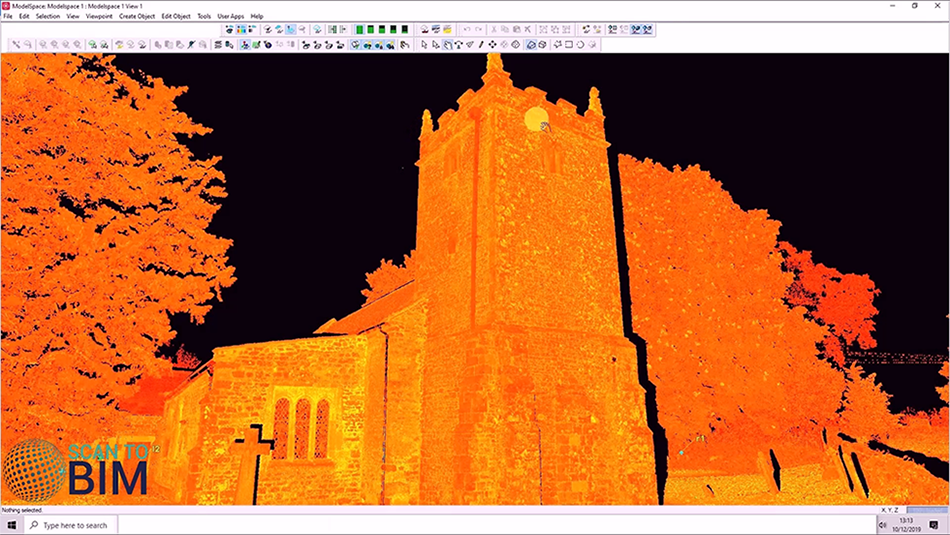
We can see here the point could be colored by intensity. ![]() You can also colorize point by RGB
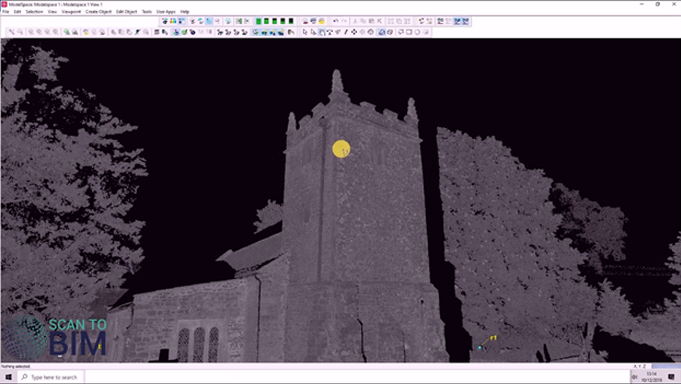
You can also colorize point by RGB ![]() and by grayscale intensity.
and by grayscale intensity. ![]() If we press “S” the cursor changes from a bullet symbol to or target symbol.
If we press “S” the cursor changes from a bullet symbol to or target symbol. ![]()

Then left-click on any given points and that becomes the point in which you orbit. Hold down the center of the wheel on the mouse and see the cursor changed again. If you pull the mouse backward, we zoom in, and if you push it forwards you zoom back out again.
 We just zoomed in on the target and hold down the left mouse button and move the mouse to the left move the mouse to the right. To move it about the point and also more the mouse forwards and pull it upwards to pull it downwards to look up and down.

If you right-click with the mouse changes you into pan mode. If you move the mouse to the right and to the left and also up and down you can pan around the point cloud.
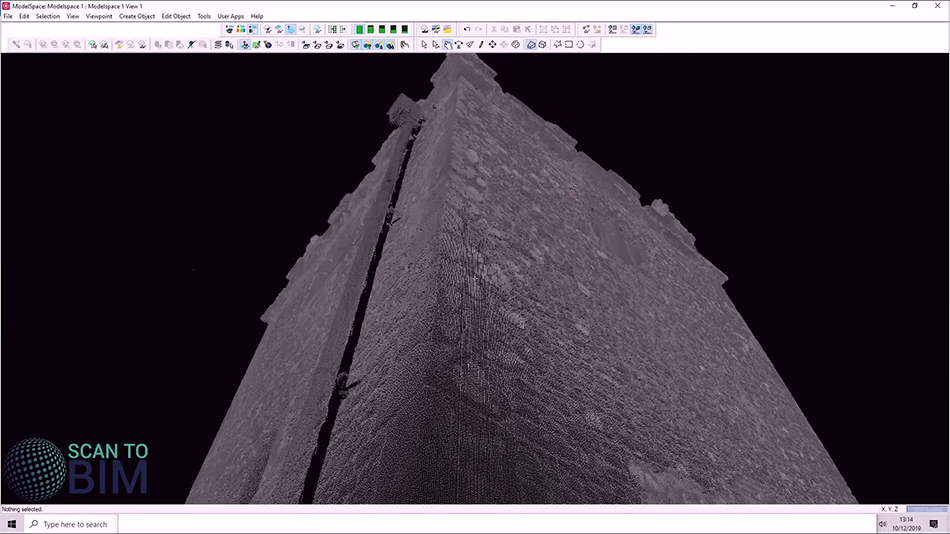
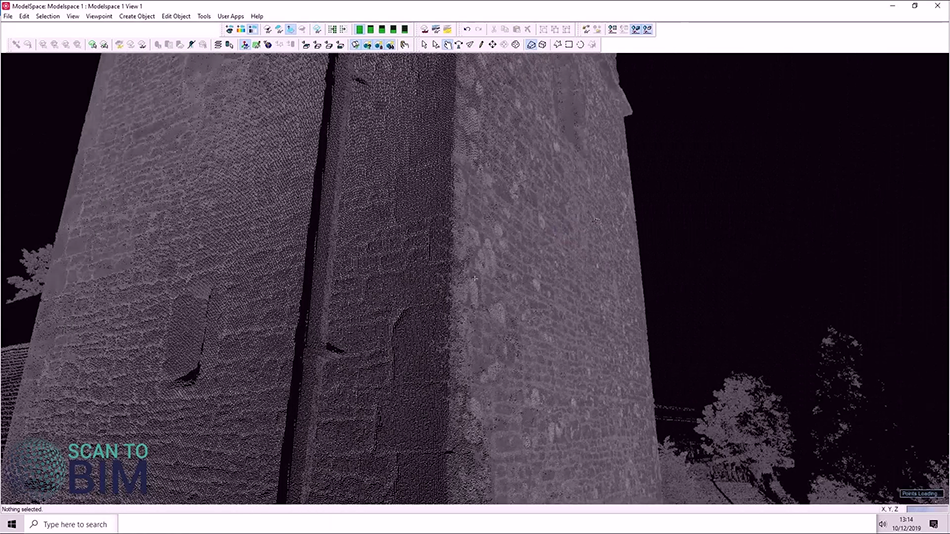
 If we zoom in on this little bit of wall, we can see the size of the points, we can make the size bigger, make the surface look more continuous, and we can make the size smaller again and see all of the individual points.
You can also choose to view the data in orthographic mode toggling between perspective and there are preset views here and look at the data from the top view and also choose the left, right, and front view these views are more useful when you’ve found a coordinate system.
Join us in part two where we look at registration with insight.